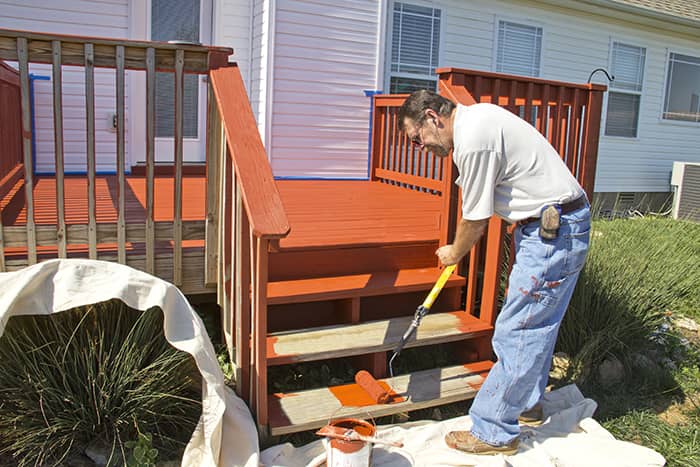
Easy Way to Stain Wooden Floors Like a Professional for Beginners
One of the most distinctive features of an old home is the original wood flooring and the good floor stain. However, many homeowners don’t know how to take care of vintage wood flooring, and after years of wear and tear, the wood starts to look old, scratched and dull says, Local Records Office.

How to Stain Hardwood Floors
If you want to give your floors a new look without hiring a contractor or spending an arm and a leg, check out these easy tips on how to stain your own floor!
Staining your own floors doesn’t have to be expensive or overly complicated, just make sure you follow these steps so you don’t ruin those beautiful floors. Now all that’s standing in the way of you and fresh new floors are some stain and a free weekend!
Step 1: Sand and wipe floors clean
Before you can begin to stain the wood, you have to make sure the floor is completely cleaned, dusted, vacuumed, and sanded. To sand, you’ll need to get a floor sander, which you can rent or buy at any home improvement store. To clean up the extra sawdust and sand, use a tack cloth.
Step 2: Wet the floor
To ensure the wood soaks up the stain, run a wet mop over the newly sanded floor. Adding water to the wood will raise the grain, making it easier for the wood to fully absorb the stain and color. Start on one side and work your way from one side to the other. To avoid having pools of water or stain, make sure you wring out the mop frequently.
Step 3: Liberally apply wood stain
Using a porous sponge or rag, apply the stain liberally to the floorboards. As you did with the mopping, start on one side and go with the grain to create a better, more natural look. Try to apply the same amount of stain to each board for an even look. When picking the color of the stain, it’s best to go with one that looks the most natural with your home and your other flooring. If you’re staining a dining room or kitchen, be sure to get a water-repellent stain so it doesn’t wash or rinse off easily. After you’ve stained your floor, give the stain about 5 or 10 minutes, and go through to wipe away the excess stain to avoid an uneven look.
Step 4: Allow the wood to dry
Allow the stain to dry fully overnight. It’s extremely important to allow your floors to dry because like paint, the stain can easily smear and smudge when bothered. Plus, most wood stains will stain clothes, rugs, or furniture so it’s important to let it dry before you move anything in the room.
Step 5: Apply polyurethane
After the stain has dried, apply a coat of polyurethane, which will help keep the stain and protect the floor from chips or wear and tear. Once the floor stain has dried, enjoy your handiwork and accessorize with some new furniture!
